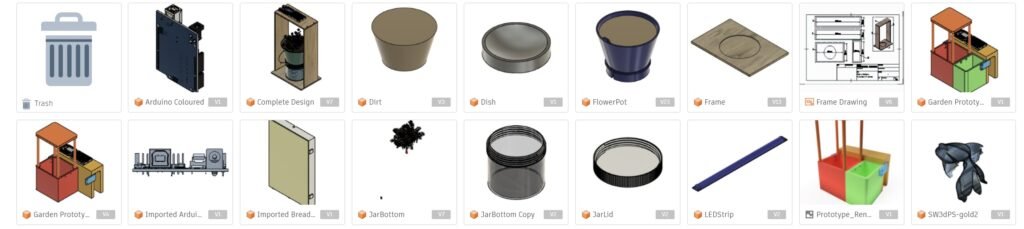
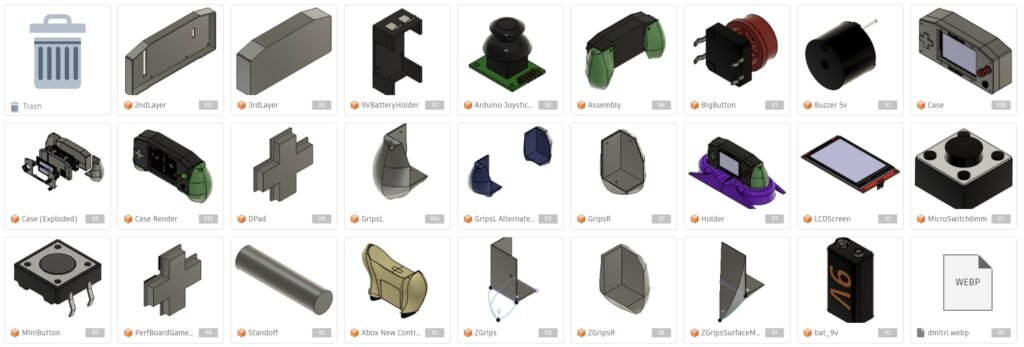
WARNING: I made all these parts using Fusion 360, which I don’t have access to anymore and have to rely on screenshots of icons in folders to show what I modeled.
There were two projects we got to work on in our winter-semester design class. The first project was a mini-indoor garden, that had some sensors and automation built into it. The second and more exciting project was a portable ‘retro’ style video game console, built upon an Arduino mega.
Retro Video Game + Console:
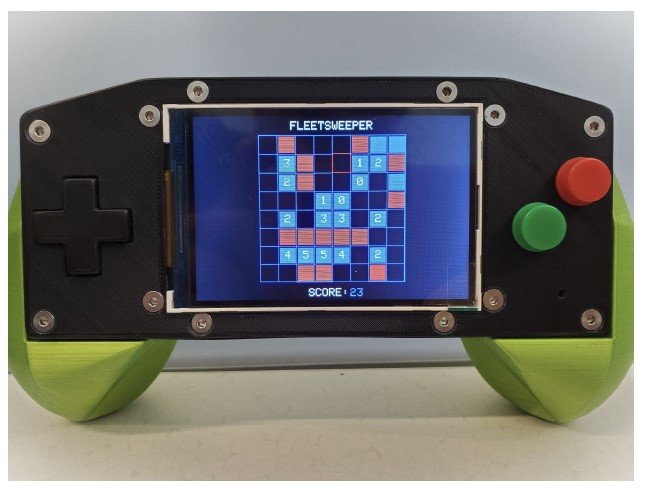
The game my team and I created was a combination of both minesweeper and battleship. It was like minesweeper in the sense that the numbers on the screen indicated how many ‘battleships’ there were adjacent to that tile with the number on it, but the game was like battleship because you were trying to correctly guess where the ‘battleships’ (red tiles) were based on the numbers. This was our way of have a single player battleship game, where the objective is to get the highest score by correctly guessing where all the battleship/mine tiles are (the red ones). Points were awarded for uncovering red tiles, and points were deducted for incorrect guesses.
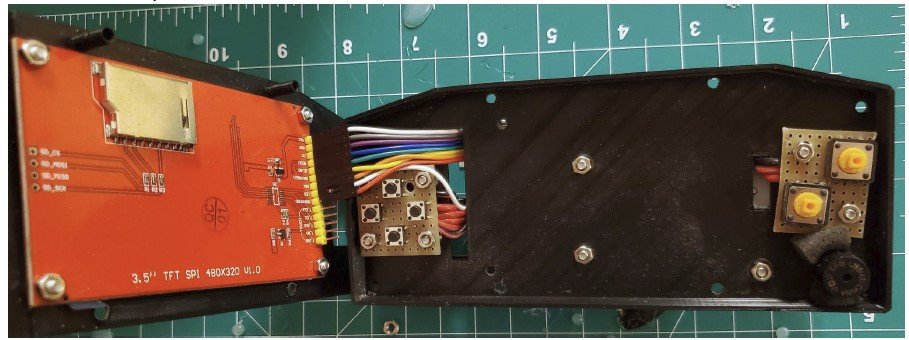
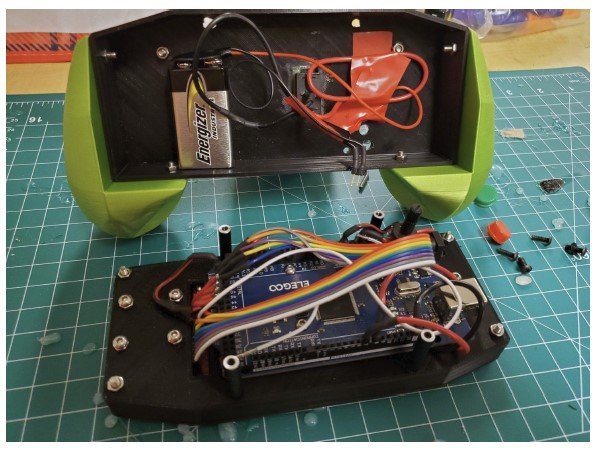
I was primarily in charge of assembling the hardware and developing the mechanical design of the console. The details of the assembly are somewhat shown in the following snapshots of the process.
I’ll brag and say that our professor asked if he could showcase our project at the first year engineering booth at the open-house that year. I think my project was chosen because of it’s robustness. I’ll admit that some of the other teams had some flimsy designs, and their consoles felt more fragile than this one. So yeah, mine was the best.
Mini-Indoor Automated Garden:
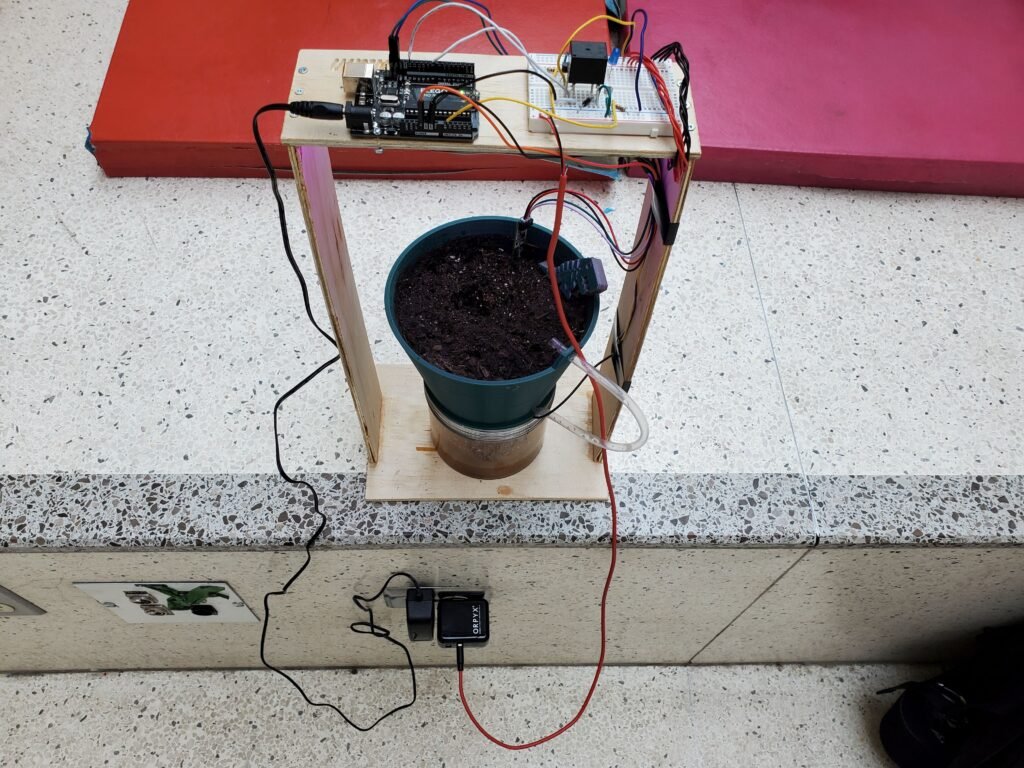
I forget how long we had to work on this project, I was probably only a couple of weeks, so I tried to keep it simple. The project consisted mainly of: building an electrical circuit to power on LED grow lights when a photoresistor detected the absence of light (I think I hard coded the lights to remain on if the system was powered to show where the LED’s were shining from in this picture), actuate a relay that gave power to a pump when a capacitance-based moisture sensor detected a moisture level below a threshold, and encase everything in a neat (water-resistant) frame.
We can see that my design was plain and simple, I tried to minimize how much 3D printing was required since most of the other teams were printing BIG enclosures for their projects, and it was an impossible queue to get through. An example of this type of large 3D print is shown on the right of the picture below (a design one of my teammates was working on), where the intent was to 3D print each tub and place a different part of the project in it. I kept it simple and built the entire frame out of wood, placing the electronics on top to keep them out of waters reach, the only 3D print was the pot for the dirt, which had a drainage hole at the bottom to recycle the water back to the reservoir and the submerged pump.
Another major improvement I had to add to this system that was not given as part of the kit, was the relay. The kit the instructors gave us only included transistors, which couldn’t handle the large current required by the pump and were burning up instantly. I fixed this by wiring in a relay to power the pump which gave the pump enough head to climb 1′ vertical incline to deposit water on top of the dirt.
Funny enough I met one of my best friends in university in the makerspace while working on this project. And it was my rant about the relay that kicked everything off.